A successful injection mold transfer moves a validated production system, not just a steel tool. Before the mold leaves its current plant, confirm ownership and drawing revision, record its condition, prove compatibility with the receiving machine, protect supply, and agree how every cavity will be qualified. Shipping first and resolving these questions later turns a planned move into an uncontrolled production trial.
This mold transfer checklist is for sourcing managers, manufacturing engineers, quality teams and toolrooms relocating an existing injection mold. It organizes the move into seven approval gates and explains the evidence needed at each. The requirements below are a planning framework; part risk, contractual obligations and customer-specific approval rules determine the final release criteria.
Key takeaways
- Release the transfer against written evidence: tool identity, condition, machine fit, inventory cover and an approved qualification plan.
- Record the current process and retained samples by cavity before disconnection. A single acceptable sample is an incomplete baseline.
- Separate transport damage, existing wear, machine differences and process changes so responsibility remains clear.
- Qualify on the intended production cell and verify startup, steady production and restart behavior before releasing shipments.
- Keep a controlled fallback until the receiving plant has accepted the tool and the customer has approved production where required.
In this guide
What belongs in an injection mold transfer?
Treat the transfer boundary as the complete manufacturing cell required to make and inspect the approved part. The mold may rely on a hot-runner controller, connector adapters, hydraulic core-pull sequences, water manifolds, grippers, drying conditions, assembly fixtures or dedicated gauges. If any of those stay behind without a replacement plan, the mold has moved but the process has not.
Define the boundary in a transfer register. Give every asset a unique identifier, its owner, current location, receiving location, condition and disposition. Distinguish items that travel with the mold from items supplied locally. Attach photographs to ambiguous connections and fixtures. This avoids discovering during installation that a critical adapter or cavity-specific gauge was never included in the shipment.
| Gate | Evidence to approve | Hold the move when |
|---|---|---|
| Ownership | Tool identity, rights to release, approved part and tool revisions | The mold or technical records cannot be released by the authorized owner |
| Baseline | Condition report, cavity map, retained samples and current process record | Existing defects and missing records have no agreed disposition |
| Machine fit | Approved mechanical, injection, utilities and control comparison | A critical interface is unverified or an adaptation is incomplete |
| Supply | Inventory-cover calculation and recovery plan | Expected downtime consumes all usable stock |
| Transport | Preservation, lifting, restraint and receiving inspection plan | The packing or lifting arrangement has not been approved |
| Validation | Cavity-specific inspection and production trial plan | Acceptance criteria or customer approval requirements are undefined |
| Release | Signed tool acceptance, approved process and shipment authorization | Open issues affect conformity, traceability or safe operation |
Seven mold transfer gates. Hold points should be assigned to named owners before scheduling the shipment.
Gate 1: establish ownership and revision control
Start the mold transfer with a tool identification record: asset number, tool serial number, molded part number, part revision, cavity count, active cavities and current location. Photograph the nameplate and cavity identification. Reconcile those details with the purchase record and the latest approved drawing. Similar-looking tools or sister molds should never be assumed interchangeable without confirmation.
The buyer should confirm who can authorize release and which design files, fixtures and spare components are included. Commercial ownership of the mold and rights to use its detailed CAD files may be recorded separately. Put any unresolved rights question to the responsible commercial or legal owner; the transfer team should document the agreed outcome rather than interpret a missing contract.
Control the technical package
- Approved 2D part drawing and 3D model, including datum scheme and special characteristics.
- Tool assembly, component drawings, bill of materials and a cavity-to-insert identification map.
- Hot-runner, electrical, hydraulic and cooling diagrams with connector and sequence information.
- Current approved material specification, color, additives and any permitted regrind conditions.
- Process sheet, quality plan, measurement instructions, maintenance record and change history.
- Retained samples with cavity, date, revision, material batch and approval status.
For each file, identify the revision and its approval status. A file called final-final is not revision control. Create a read-only released package and maintain a separate change log for transfer modifications. When a repair changes a gate, vent, insert or cooling connection, record the change against the tool and assess whether renewed part approval is required.
The existing tooling quote checklist helps assemble information for a new supplier. A mold transfer adds something more: proof of the tool’s actual operating condition and the performance the receiving plant is expected to reproduce.
Gate 2: document condition and production baseline
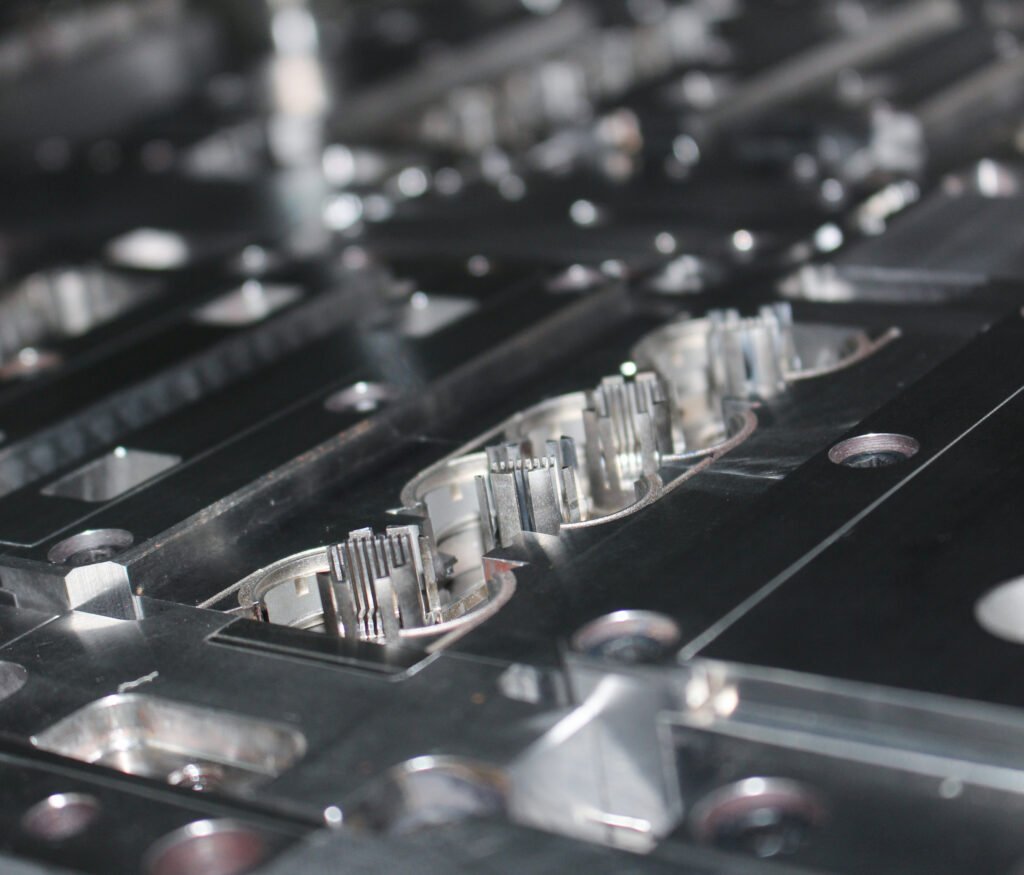
Before the last production run, agree a condition-review method with both plants. Inspect cavity surfaces, parting lines, shut-offs, slides, ejectors, guides, seals and accessible cooling connections. Review previous repairs and recurrent defects. Record the cycle count if a reliable counter exists; identify it as unknown when the number cannot be substantiated.
Separate cosmetic marks from damage affecting dimensions, sealing, appearance or operation. Photograph each finding with its location and identification. Assign a disposition: acceptable as received, repair before shipment, repair at destination or investigate during qualification. An agreed condition report prevents every later defect from being attributed to transport and avoids passing existing damage into the new baseline.
Capture production evidence by cavity
Retain a set of approved parts from each active cavity, with enough identification to compare the receiving process. Record material batch, machine identification, cycle time, drying settings, cooling conditions, process settings and the timing of collection. Where available, save actual process traces and inspection results rather than only controller setpoints. Distinguish a measured process condition from a nominal setting.
Cavity identification is essential because averaging can hide a cavity that runs heavier, short-fills, warps or drifts dimensionally. Preserve the last full dimensional layout, recurring nonconformance history and any cavity restrictions. If one cavity is intentionally blocked, include that fact in the transfer record and capacity calculation; do not allow the receiving plant to infer the intended configuration.
Plastic Components’ tool transfer checklist provides an independent reference for this documentation stage. Its emphasis on drawings, master samples, quality history and tool evaluation is consistent with treating the move as a controlled requalification. The expanded approval gates here add a practical decision structure for the buyer and receiving plant.
Gate 3: prove receiving-machine compatibility
A press with enough nominal clamp force is not automatically compatible. Compare the actual mold dimensions and mass with the machine, handling equipment and installation procedure. Review tie-bar spacing, platen dimensions, locating ring, mounting arrangement, mold-height range, opening stroke and ejector interface. Consider the space needed to connect utilities and remove the molded part safely.
Check the complete operating envelope, including slides and unscrewing mechanisms, rather than only the closed mold dimensions. An installation may fit mechanically but leave too little opening travel for the gripper or insufficient ejector stroke for the part. Document adaptations before the mold transfer shipment so installation does not depend on improvised brackets or unreviewed control changes.
| Interface | Information to compare | Acceptance evidence |
|---|---|---|
| Mechanical mounting | Mold size, mass, locating ring, bolt or clamp arrangement, mold height | Approved installation drawing and handling plan |
| Injection unit | Required shot volume, screw size, flow capability, pressure basis, nozzle fit | Machine/process comparison reviewed by the molding engineer |
| Ejection and core pull | Travel, force, connection and sequence, return confirmation | Approved sequence and dry-cycle verification |
| Cooling | Circuit map, connection size, flow, inlet condition and pressure limits | Circuit-specific commissioning record |
| Electrical and hot runner | Voltage, heater load, thermocouple type, zone map and connector pinout | Documented electrical compatibility check |
| Automation and inspection | Gripper access, part orientation, cavity traceability, gauges and tests | Cell trial against the quality plan |
Compatibility is an engineering comparison, not a declaration based on press tonnage.
Translate the process instead of copying setpoints
Machine settings are expressed in different units and measurement bases. Hydraulic pressure, plastic pressure and controller percentages cannot be compared blindly. Injection velocity also depends on screw geometry and the way the controller reports motion. Use the old recipe as a starting reference, then establish the receiving process through measured fill, packing, cooling and part-quality behavior.
For a simple screw-displacement estimate, swept volume equals screw cross-sectional area multiplied by travel: V = πD²s/4. A hypothetical 40 mm screw traveling 50 mm sweeps about 62.8 cm³. A 50 mm screw requires about 32 mm travel for the same geometric volume. This calculation is an illustration, not a validated shot setting; compressibility, check-ring behavior and actual transfer position require process evaluation.
Keep pressure units explicit in the comparison sheet. Record whether a value is hydraulic pressure, calculated specific injection pressure or measured cavity pressure. Include nozzle geometry and resin residence conditions. A receiving machine that fills the part must still demonstrate suitable control, repeatability and material handling for the required production window.
Gate 4: protect supply through the mold transfer
Build the schedule from the last approved production date to the first approved shipment from the receiving plant. Include tool release, preservation, packing, transport, customs where applicable, receiving inspection, installation, trials, laboratory testing and customer approval. The largest uncertainty may be an approval or repair rather than the shipping journey. Assign an owner to each date and dependency.
Inventory cover must use usable finished goods. Exclude stock on quality hold, obsolete revisions and quantities already allocated elsewhere. Where different product variants consume the same tool, calculate coverage by variant or demand mix. A pallet count is not a supply calculation if the contents cannot serve the orders expected during the move.
Worked inventory calculation
Assume a product consumes 8,000 accepted parts per week. The planned interruption is three weeks and the project selects a further two-week contingency. Required usable cover is 8,000 × (3 + 2) = 40,000 parts. If 30,000 usable parts are available, the gap is 10,000 parts. These are hypothetical planning values; select your contingency from actual transfer risk and replenishment constraints.
If the old process yields 98% accepted parts in this example, producing an additional 10,000 good parts requires at least 10,000 / 0.98 = 10,205 gross parts after rounding up. That estimate excludes startup losses, changeover consumption and other losses not included in the stated yield. Define the yield calculation before using it to authorize a prebuild.
Record the fallback explicitly: retained production access at the original plant, an approved alternative tool, extra inventory, or an agreed customer recovery arrangement. If the mold is the only tool and the old plant cannot restart after shipment, say so. A mold transfer plan should expose this dependency before a booking date makes it expensive to change.
Gate 5: preserve, transport and inspect the tool
Agree the tool’s shutdown and preservation procedure with qualified personnel. Cooling circuits, hot-runner systems, hydraulic devices and stored-energy components have different requirements. Specify how contamination and corrosion are controlled and how any protective product is identified and removed before production. Avoid assuming that a generic oil or cleaning solvent is compatible with every seal, coating or resin application.
The packing record should identify mold mass, lifting points, approved handling method, transport locks, restraints and the position of fragile connections. Include photographs before closure and after final restraint. List loose items separately. The receiver needs to know which locks and protective covers are removed during installation and which fasteners are part of the working assembly.
At arrival, reconcile the crate and asset register before signing unconditional acceptance. Inspect indicators and visible damage where provided, document packaging condition, and check loose items. Record discrepancies promptly under the agreed receiving procedure. Arrival acceptance should distinguish transport receipt from technical acceptance; receiving a crate does not release the tool for production.
Gate 6: validate every cavity on the production cell
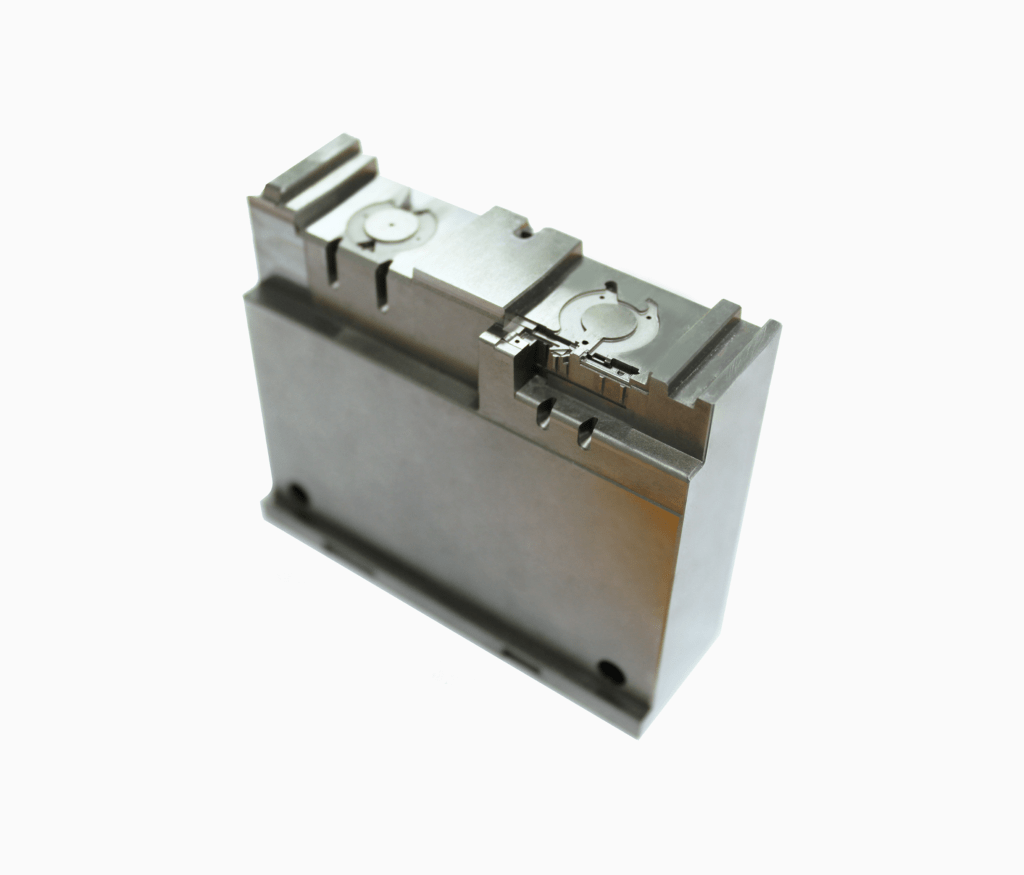
Define the qualification plan before the mold transfer. It should name the intended machine, mold configuration, resin specification, utilities, automation, inspection methods and release authority. Agree sample identification, conditioning requirements, cavity coverage and the evidence required for customer approval. A first-article layout, process qualification and production release answer different questions and should not be treated as interchangeable.
Commission the cell under the plant’s approved procedures, then assess actual process behavior. Establish stable thermal and material conditions before collecting qualification samples. Confirm that the process is not operating at a machine limit that leaves no adjustment margin. Record observed issues separately as tool, process, material, measurement or cell-interface findings so corrective actions address the source.
Use a test matrix that covers real production
| Condition | What to verify | Evidence to retain |
|---|---|---|
| Initial setup | Correct tool configuration, sequences, sensors and material identity | Installation and commissioning record |
| Thermal stabilization | Repeatable fill, weight and quality after stabilization | Time-ordered process and sample records |
| All active cavities | Dimensional, visual and functional conformity | Cavity-specific inspection results |
| Intended production rate | Cycle, handling, ejection and inspection capacity | Recorded production-cell trial |
| Stop and restart | Recovery method and segregation of startup parts | Restart settings, observations and disposition |
| Agreed operating window | Part quality at approved process boundaries | Window study and approved process limits |
| Representative production | Traceability, packaging, throughput and quality controls | Run record, control plan and release documentation |
The required duration, sample count and operating boundaries must be agreed for the specific part.
Use qualified measurement methods and assess whether the gauge can distinguish acceptable and unacceptable parts. A changed fixture, datum interpretation or conditioning time can create an apparent process shift. Compare the old and new measurement approach using identified samples before assuming that the transferred tool has changed. Resolve measurement discrepancies before calculating process capability.
If capability indices are required, establish stability and use an appropriate statistical method for the characteristic. NIST’s process capability guidance explains that conventional Cp and Cpk rely on distribution assumptions. Agree sample design and acceptance thresholds with the customer; neither a few good samples nor a pooled result from dissimilar cavities establishes production capability.
Gate 7: release production with a complete handover
Close the mold transfer with separate approvals for tool receipt, technical acceptance, process qualification and shipment release. Record who approves each and the evidence supporting it. An open-item register should identify issue severity, owner, deadline and disposition. A temporary deviation needs a defined scope and expiry; it should not become the permanent acceptance standard by default.
Hand over the approved recipe, quality plan, maintenance instructions, cavity map, spare-parts list and training records to the production team. Identify consumables and components that need controlled replenishment. Where a replacement insert is required, use its released drawing, interface dimensions and material specification; the made-to-print tooling components service is the relevant SSP route for that work.
Confirm where the authoritative files live and who owns future revisions. Add lessons from installation and qualification to the maintenance plan without overwriting the original baseline. Set a follow-up review after representative production so early drift, recurring stoppages or unexpected wear become controlled actions rather than informal workarounds.
Copy-ready mold transfer handover checklist
- Tool and part identities match the approved revision and cavity configuration.
- The owner has approved release of the mold and listed accessories and records.
- Condition findings, prior defects and required repairs have agreed dispositions.
- Baseline parts and process records are identified by cavity and collection conditions.
- The receiving machine, utilities, controls and automation have passed compatibility review.
- Usable inventory covers the approved interruption and the selected contingency.
- Packing, lifting, preservation and arrival-inspection responsibilities are assigned.
- Qualification covers active cavities, measurement methods, production rate and restart.
- Customer approval requirements and shipment-release authority are documented.
- Production receives the approved process, maintenance plan and controlled spares register.
Use the mold transfer checklist as a signed project record: add an evidence link, owner, due date and pass/hold status beside every line. A checked box without traceable evidence does not resolve an engineering risk. For an SSP review, send the tool register, drawings, condition report, target machine data and approval requirements through Contact SSP.
For the commercial scope, see SSP’s injection molding services and injection mold products. This guide supports those pages by explaining the evidence a buyer should prepare; machine-specific compatibility, repairs and production commitments require project review.
Mold transfer questions buyers ask
Can an injection mold run on any machine with enough tonnage?
No. Clamp force is only one requirement. Confirm mounting, mold-height range, opening and ejection travel, injection-unit capability, nozzle fit, core sequences, cooling, hot-runner controls and automation. Qualification must use the intended production cell.
Should the old molding recipe be copied to the new machine?
Retain it as reference evidence, then translate units and verify measured process behavior. Screw size, pressure basis, controllers and utilities can differ. The receiving recipe must demonstrate conforming parts and suitable control on its own machine.
How much safety stock does a mold transfer need?
Calculate usable inventory from expected demand over the full interruption plus a risk-based contingency. Include approval and repair uncertainty. Exclude stock that is on hold, obsolete or allocated to another requirement.
Is one good sample enough to accept a transferred mold?
No. One sample can support an initial review but cannot demonstrate all-cavity performance, stable production or restart behavior. Agree cavity coverage, functional tests, measurement methods and the production trial before the move.
Does moving a mold automatically require PPAP?
The applicable customer and industry approval requirements decide that. A site, machine, material or process change may trigger a new submission or another qualification route. Obtain the required disposition before releasing transferred production.
What if original tool drawings are missing?
Record the gap and assess what can be established through qualified inspection and controlled reconstruction. Prioritize safe operation, interfaces and product-critical features. Missing records increase uncertainty and must have an agreed resolution before release.
Technical references
- Plastic Components: Plastic Injection Molding Tool Transfer Checklist, documentation, tool evaluation and qualification reference.
- NIST/SEMATECH Engineering Statistics Handbook: What Is Process Capability?, statistical assumptions and capability interpretation.
The numerical examples in this article are hypothetical calculations for planning. They are not SSP project results, quotations or guaranteed production performance.