

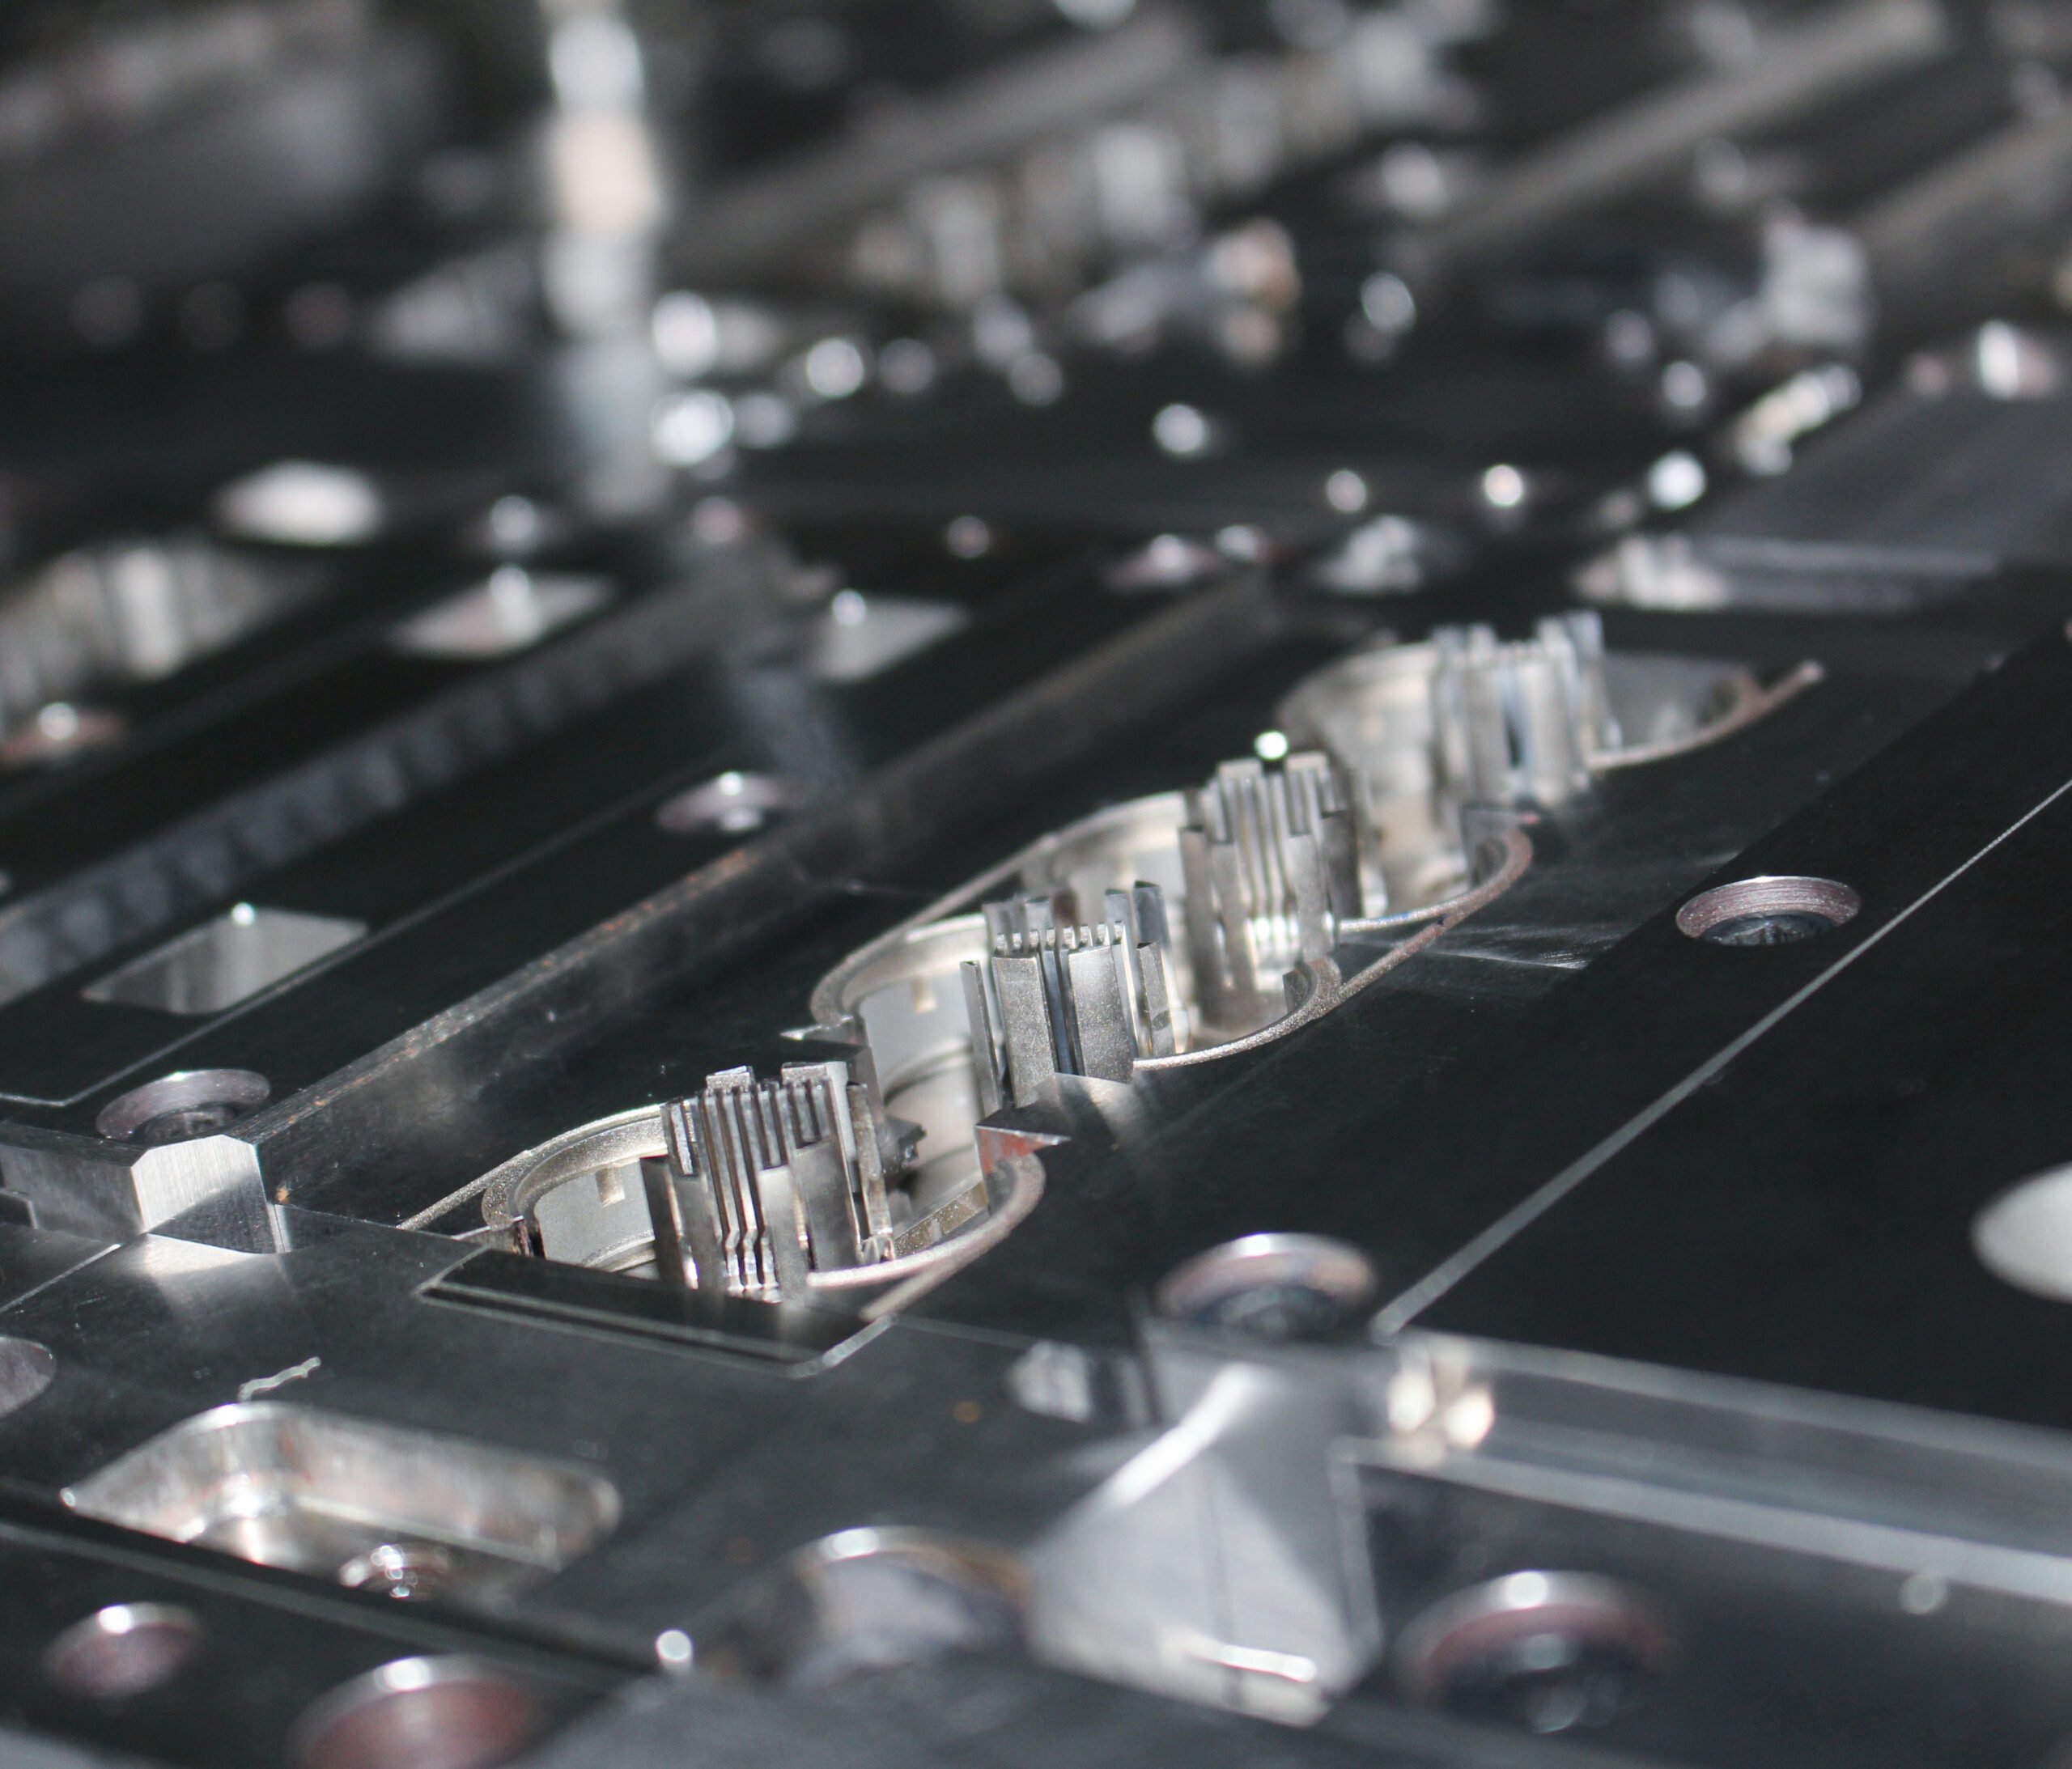
Injection molding burn marks in deep ribs require a location-specific investigation: establish where the air is being trapped, whether it has an effective escape route, and which filling conditions reproduce the mark. BASF describes localized burning at individual features, including ribs, when compressed cavity air cannot escape. Its guidance includes checking vent effectiveness and reviewing the filling profile. [1] BASF.
The practical objective is to turn “there is a black mark near a rib” into a traceable explanation that can be challenged and retested. A useful investigation must distinguish observation from cause, tool access from effective venting, and a cleaner-looking sample from an approved component. This study focuses on deep-rib diagnosis; rib sizing, gate selection and general defect prevention remain separate design questions.
Diagnostic answer in brief
- Map the mark to a cavity and feature before changing settings.
- Compare the observed location with the filling sequence and the actual air-escape route.
- Inspect and document the existing tool condition before proposing irreversible work.
- Choose controlled trials that distinguish competing explanations.
- Approve appearance, dimensions and relevant function separately.
Injection molding burn marks in deep ribs: define the study question
Imagine a housing drawing with three internal ribs labeled R1, R2 and R3. A proposed investigation asks whether a repeatable discoloration at the terminal region of R3 is associated with trapped cavity air. These labels define the example only; they do not identify a real SSP tool. Neither rib dimensions nor a resin grade are invented to make the diagnosis appear complete.
Before a trial, the responsible team should identify the exact material, mold revision, cavity IDs, machine configuration and approved processing limits. Mark the gate, parting surfaces, insert boundaries and proposed vent outlets on the same drawing. Assign the appearance zones and the dimensions or interfaces that could be affected by a change. Record information that is missing rather than filling it with a generic molding value.
Write the study question narrowly: “Does restoring the documented air-escape path change the repeatable R3 observation while the approved baseline conditions are held?” This is more testable than “Will more venting fix the part?” A second question can examine the filling profile after the baseline is understood. Combining both changes immediately would make it difficult to assign the result to either intervention.
Distinguish dieseling from other dark-mark explanations
The term dieseling describes the compressed-air burning mechanism in this context. A dark feature does not by itself prove that mechanism. Autodesk identifies air trapping as one cause of burns, while noting that high melt temperature, screw speed and restricted flow can produce other burns outside its venting-analysis prediction. [4] Autodesk. Keep those competing explanations open until the evidence separates them.
| Observation to record | Working hypothesis | Evidence proposed before accepting it |
|---|---|---|
| A repeatable mark near an apparent flow termination | Local air evacuation may be inadequate | Compare filling evidence, vent route and cavity-specific samples |
| Dark inclusions distributed through different locations | Upstream material or thermal history may contribute | Trace material handling and processing history with supplier guidance |
| Only one cavity shows a consistent mark | A local tool or filling difference may matter | Compare identified cavities under the same recorded conditions |
| Discoloration changes after several interventions | Cause remains unresolved | Return to a controlled comparison and retain the change log |
Original diagnostic matrix. These observations prioritize questions; none is a stand-alone root-cause test.
BASF separately discusses black specks caused by contamination or thermal damage. That distinction supports keeping distributed inclusions on a separate investigation branch, rather than labeling every dark feature a vent defect. [1] BASF. Record whether the observation is a surface patch, an embedded speck, incomplete fill or another feature, using photographs of the actual samples when available.
For the trapped-air branch, Autodesk explains how preferential filling of thicker regions, hesitation in thinner regions and unequal paths can surround air. Inadequate venting can also leave air at flow ends. [2] Autodesk. The engineering implication is to review the whole local flow sequence, including neighboring walls and ribs, rather than assuming the deepest feature must always be the last to fill.
Capture a baseline that another reviewer can reconstruct
Keep a specimen register with unique part IDs and cavity identification. For each observation, record the feature location, viewing method and whether the entire feature filled. Photograph the same face and orientation under agreed conditions. The proposed method should let another reviewer distinguish a change in the part from a change in lighting, magnification or the inspector’s interpretation.
Retain the machine recipe and actual available process records with their units. State whether a value is a machine setpoint, a recorded response or a simulation input. For example, a controller speed setting should not be relabeled as measured melt-front velocity. Attach the material lot and preparation record, tool condition and interruption history where available. If a measurement was not made, say so.
Define the comparison boundary before sampling: which conditions must remain unchanged, what requires stabilization, what constitutes a mark, and when the trial must stop for review. This article does not prescribe a universal stabilization period or safe operating range. The responsible processor must establish those conditions with the material, machine and tooling suppliers.
For geometry decisions, use the separate rib design and wall-section guide. This investigation asks why a particular location shows an observed defect; it does not approve a rib ratio or repeat the structural-design calculation. Keeping those questions separate prevents a geometry change from being accepted without checking its original function.
Review the complete air-escape path before cutting steel
Start with the released tool drawing and compare it with the as-found condition. Identify where the cavity connects to a vent feature, how the route continues through the tool, and where it discharges. Record access for inspection and cleaning. A line labeled “vent” on a drawing is a proposed route, not proof that the installed path is open and effective.
BASF recommends checking vent locations and effectiveness, cleaning contaminated vent channels and reviewing the filling pattern. [1] BASF. The proposed review record should therefore distinguish an obstructed existing feature from an absent or unsuitable route. Preserve photographs and measurements before maintenance, then document what was restored. Use the approved tool-maintenance method; no vent depth or land length is prescribed here.
| Review item | Proposed question | Record to retain |
|---|---|---|
| Cavity connection | Does the route connect to the region under investigation? | Marked tool section and feature ID |
| As-found condition | What differs from the released condition? | Inspection record and actual photographs |
| Downstream route | Where does displaced air go after the cavity connection? | Continuous route and outlet identification |
| Maintenance access | How will the route be inspected and restored? | Approved procedure and responsible owner |
| Modification proposal | Which other requirements could be affected? | Revision, review and retest plan |
Autodesk lists appropriate venting and possible vent or ejection-pin arrangements among remedies for identified air traps. [2] Autodesk. Treat these as concepts for tooling review, not permission to drill a particular feature or assert that SSP provides every venting technology. For a physical tool enquiry, distinguish the proposed configuration from the broader injection mold product options.
Plan trials that discriminate between explanations
Restore documented condition before introducing a new design
If the initial inspection finds a departure from the approved tool condition, propose a controlled restoration and compare it with the recorded baseline. Name the intervention precisely. “Venting improved” is too vague if the work involved cleaning a channel, replacing an insert and changing the filling profile together. Retain the removed or changed condition in the record where practical.
Plan a review decision for each possible outcome. If the original mark remains, the specific intervention has not resolved the acceptance question. If the mark changes location, investigate the new pattern rather than counting the original location alone. If the appearance improves but the feature is incomplete, the proposed correction has not demonstrated an acceptable part.
Choose speed changes according to the suspected mechanism
Autodesk’s air-trap guidance gives different speed directions for different mechanisms: faster filling can address certain hesitation or converging-front situations, while slower filling can help poor-venting burns. [3] Autodesk. Therefore, “always slow down” is not an adequate diagnostic rule. Specify the mechanism being tested and the part of the filling profile under review.
For a suspected local end-of-fill problem, propose a profile comparison within supplier-approved limits, retain the same material and tool condition, and record both the commanded profile and available actual response. BASF includes a graduated profile with lower speed at the end of filling among possible remedies. [1] BASF. This is a testable hypothesis, not a universal percentage reduction.
| Trial branch | Proposed controlled change | Question answered | Additional checks |
|---|---|---|---|
| Baseline repeat | No intentional change | Is the observation repeatable under the recorded condition? | Cavity identity, complete fill and appearance |
| Tool restoration | Restore only the documented vent condition | Does the as-found departure explain the observation? | Record exactly what was restored |
| Profile comparison | One approved profile change | Does the targeted fill stage affect the observation? | Actual response and all acceptance features |
| Tool redesign | Approved local route or geometry revision | Does the revised configuration resolve the defined concern? | Drawing revision, appearance, dimensions and function |
Use separate runs if the purpose is to isolate an intervention, or define a formal multi-factor study with competent statistical review. The worksheet is not a substitute for that design. Record unplanned changes and exclude or classify affected specimens according to the agreed study protocol, rather than silently removing inconvenient observations.
Hypothetical sample arithmetic without invented results
Suppose a teaching plan assigns 24 parts to each of three study conditions in a two-cavity mold, with equal cavity representation. Each condition then contains 12 parts from cavity A and 12 from cavity B. The total allocation is 3 × 24 = 72 parts, or 36 from each cavity. These are hypothetical planning quantities only; they are not measured production data or a recommended validation sample size.
| Illustrative condition | Cavity A allocation | Cavity B allocation | Total planned |
|---|---|---|---|
| Baseline condition | 12 | 12 | 24 |
| Documented tool restoration | 12 | 12 | 24 |
| Approved profile comparison | 12 | 12 | 24 |
| Total | 36 | 36 | 72 |
If an arithmetic exercise assumes three marked parts among 24 inspected specimens, the observed sample fraction would be 3/24 × 100 = 12.5%. If all three came from cavity B, its within-cavity sample fraction would be 3/12 × 100 = 25%, while cavity A would show 0/12 in that hypothetical set. The combined fraction hides that distinction.
No such observations were collected for this article. The calculation demonstrates why a results sheet should preserve cavity identity and denominators. It establishes neither a production defect rate nor confidence in future performance. The project owner should define suitable sampling, acceptance and statistical interpretation for the actual risk and process; a small clean sample is not a guarantee.
Use simulation as a hypothesis map
Review a filling animation alongside the air-trap result, as Autodesk recommends, and compare their feature locations with the specimen map. [3] Autodesk. Record the exact geometry revision, material model and vent assumptions used. Ask whether the model includes the proposed air-escape path rather than assuming every simulated boundary matches the installed tool.
Autodesk’s 2021.2 report includes deep-feature and ribbed-plate examples, and explicitly limits its venting-related burn prediction to air-trap locations. Other thermal or flow-restriction causes are outside that prediction. [4] Autodesk. Those published examples belong to Autodesk; they are not SSP tests and their settings must not be copied as a housing recipe.
A useful review compares three separate items: predicted risk location, observed mark location and the inspected tool route. Agreement supports a focused next test; disagreement should remain visible. Do not convert a simulation risk label into a measured temperature or guaranteed burn, and do not treat a low-risk output as proof that every other discoloration mechanism has been excluded.
When the investigation points toward entry position or the overall filling pattern, refer to the separate gate location and configuration guide. Any proposed change should return to its own design review, including the finished part’s requirements, rather than becoming an undocumented troubleshooting adjustment.
Close the evidence record before releasing production
Prepare a conclusion that names the observation, intervention, retained evidence and remaining limitations. If the result supports only a local appearance improvement under one condition, say exactly that. Avoid statements such as “burn marks eliminated permanently” unless the scope and evidence actually justify them. Keep the investigation result separate from authorization to ship product.
- Confirm specimen identity, cavity and study condition for every retained observation.
- Record the final tool and process revisions and close unplanned changes.
- Check complete filling, appearance, controlled dimensions and relevant function.
- Retain the approved acceptance method and identify unresolved requirements.
- Define the monitoring and maintenance response for recurrence.
- Assign who can approve release and which later changes require re-review.
For a production enquiry, provide the drawing, exact material, specimen map and evidence requirements with the request for injection molding production support. For company orientation, see SSP Precision’s tooling and manufacturing overview. This study does not certify a particular SSP tool, inspection capability, tolerance or customer outcome.
Frequently asked questions
What causes injection molding burn marks in deep ribs?
Trapped air that is compressed without adequate escape is one documented mechanism. A local mark should still be investigated against other explanations and the actual filling sequence. [1] BASF; [4] Autodesk.
Should injection speed always be reduced?
No. The direction depends on the mechanism. Define whether the trial concerns poor venting, hesitation or another flow condition, and use supplier-approved settings. [3] Autodesk.
What vent depth should be used?
This study specifies no universal depth. Obtain an approved design for the actual material, tool and feature, then verify the installed route and part acceptance. A generic number would not resolve the missing project inputs.
Does a simulation prove that the observed mark is dieseling?
No. Use it to frame a hypothesis and compare it with real observations. The cited Autodesk venting prediction does not cover every burn mechanism. [4] Autodesk.
Is this an SSP customer case study?
No. It is an illustrative application guide with hypothetical labels, sample allocations and arithmetic. No customer identity, production trial or measured improvement is claimed.
Technical references and evidence boundaries
Manufacturer and software documentation supports the attributed mechanisms. The investigation sequence, worksheets and numerical example are original teaching aids. Public guidance is not a replacement for project-specific approval.